I recently made a facebook post about setting up my RetroPie, and it spawned a lot of questions from folks on how I did it, how hard was it, etc. I figured if I just made a rundown on here about the whole process, it would be much easier to link to it than to repeatedly regurgitate the info over and over again.
…I’m lazy like that.
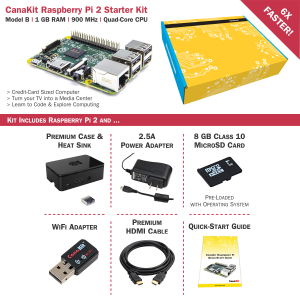
So, first off, the magic of having a retro “console” with a plethora of various platforms easily at your disposal comes thanks to the magic of the tried and true Raspberry Pi. Pi’s are powerfully little computers on a board the size of a credit card. The latest and greatest, known as the Raspberry Pi 2 are surprisingly powerful, with the B model (which have more USB ports) clocking in with a 900mhz quad core. They also have 1GB of ram, a dual core GPU, 4 USB ports, HDMI output, Ethernet, and a multiport GPIO block for various “shield” modules to be attached (TFT screen anyone?), all powered over a standard micro USB port… for about $39.00
In the case of mine, I went the “easy” route and got the CanaKit
After snapping it all together, the card already has Raspbian, the custom Pi-friendly flavor of Ubuntu, and you’re technically ready to go to setup RetroPie the “hard way”. To make life easier however, I just downloaded the latest RetroPie image off their repository over at GitHub, as it has a Raspbian install with all the RetroPie components as well as the slick UI called EmulationStation ready to go.
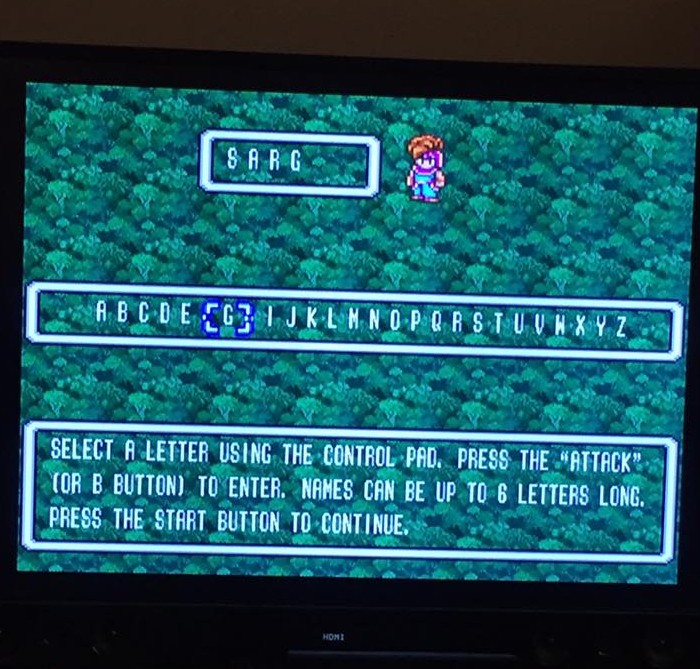
Once you image the file to your micro SD card with the tool of your choice (I just used the tools native to my MacBook Pro) you simply boot it up with an Xbox 360 wired controller plugged in, while connected to your TV, and you’re set! It really is THAT easy! It will auto boot right into EmulationStation, calibrate your controller, and then load right in. There are however a few extra steps to get the very most out of it. These are all covered step by step in the RetroPie how-to, but essentially it’s just a matter of going through the menu and expanding your file system so that the install sees the max SD card space available, and configuring your Wi-Fi to remove the need for an ethernet cable.
To get ROMs onto your Pi, there are a few options available to you. The Pi will show up as a network share, and you can just drop the ROM files directly into the folder for the relevant console emulator from your PC/Mac. Alternatively, you can plug a blank USB thumb drive into the console and give it a few seconds to sync. Once done, you can pull it back out and place it into any PC/Mac you want, and you’ll now see that there is a new folder tree, named for each emulator platform. By dropping ROMs into the right folders and plugging it back into the RetroPi, it will automatically synchronize the folders with your Pi each time you do so. It’s handy, but I personally just stuck to dropping files into the network shares.
That’s really all there is to the basics. There’s a lot more customization and such you can do, but it’s sort of beyond the rundown I intended to provide here. This is more of a quick and dirty recap for my friends than meant to be an all-inclusive how-to for the internet at large, but there are TONS of other resources out there if you need more info.
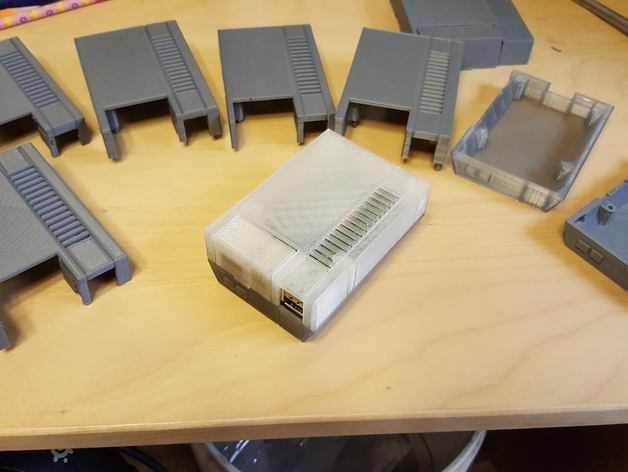
One last thing.. if you really want to kick things up a notch, you can buy a module that plugs into the GPIO ports on the Pi and add SNES controller ports to your console. I’ve thought about it, but truth be told I’m pretty happy using an Xbox 360 controller. That said, I’m currently working on 3D Printing a new case that’s shaped like a (miniature) classic NES. Let me know if you want one printed! 😉
Happy gaming!


