Elite: Dangerous is a game I do enjoy greatly, but inconsistently. I will dive in head first for a few weeks or months, then take a break for anywhere from 3 months to a year, before returning in force. Every time I come back, there is new and wondrous surprises in store from the constant updated by Frontier, and I was no less disappointed when I returned back in May after nearly a year away.
Each time I come back, I always dive just a liiiiitle bit deeper into my actual gaming setup, and this time I went in hard!
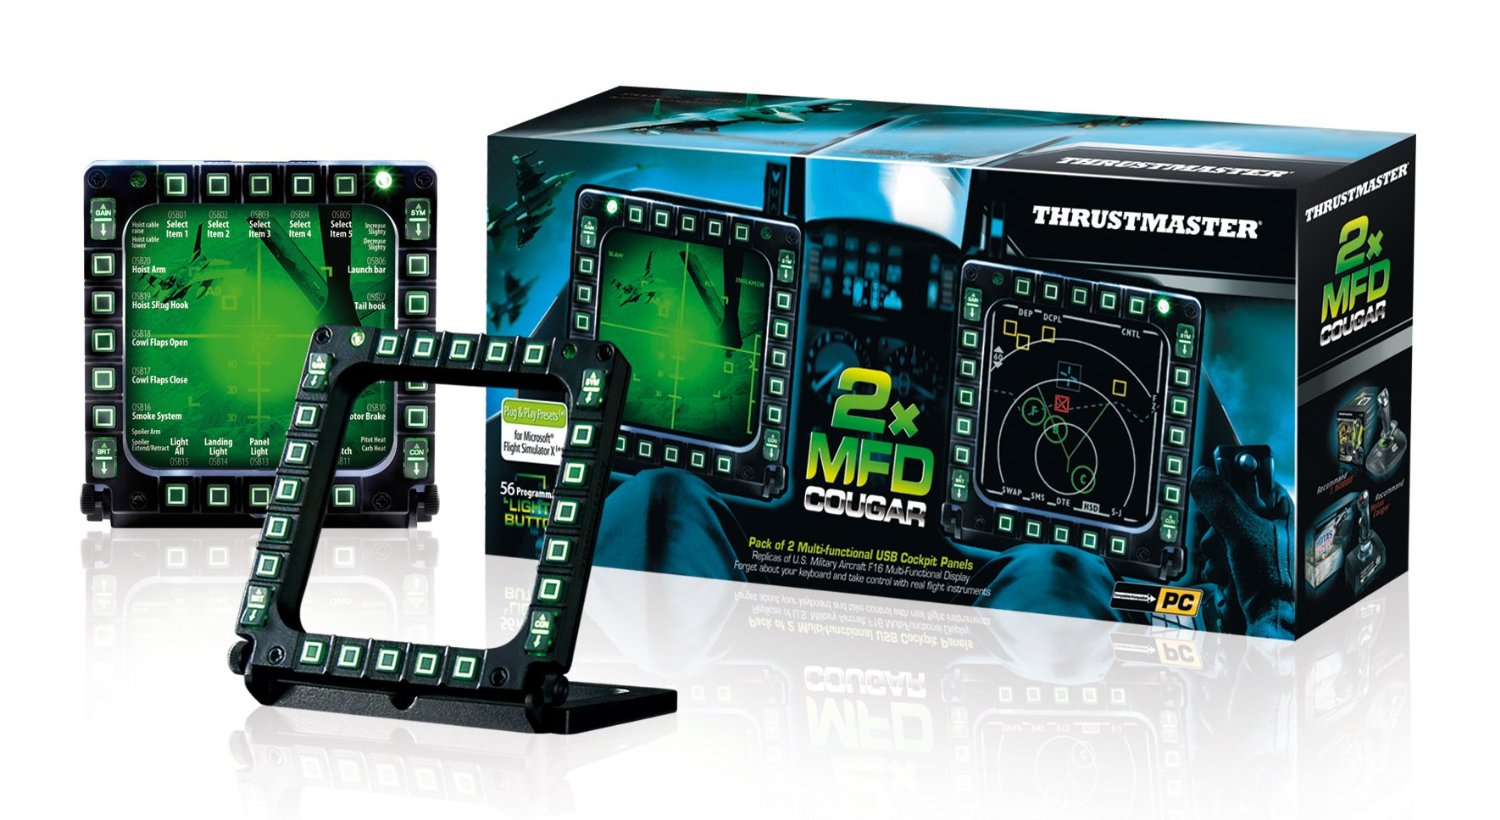
Since it came out, I’ve played with a HOTAS setup (throttle and stick), of the Saitek X-55 variety, but for a while I’ve been eyeballing something new and shiny: Thrustmaster Cougar MFD. They replicate the concept of a traditional cockpit MFD, only instead of an interactive computer screen within the frame of 5×5 buttons, it’s a hollow square (with cardboard inserts for aesthetics). My thought was, it’s nice to have 25 new buttons (50 with a pair) from adding them, but without real screens it’s just more keys to memorize, making it no more convenient than a keyboard. But… what if I put an LCD screen under them?
Fortunately for me, a wonderful community developer has written a custom tool that takes advantage of the detailed logging output by E:D (something that countless other handy third-party tools rely on) to power customizable guided displays, a portion of which are designed from the ground up specifically to sit inside the viewable areas of the Thrustmaster MFDs!
I hopped on Amazon, and snapped up both a pair of the Cougar MFDs, as well as a cheap LCD screen, and eagerly awaited their arrival.
Once they arrived, I first whipped up a quick and dirty prototype. I laid out the units on some foam core, and made a series of measurements to account for their placement, the screen, it’s bezels, etc. I had enough workable real estate that after placing the MFDs, I had room for a horizontal output at the top and vertical one in the center. However, upon cutting up the foam-core prototype, I realized it would quickly lose physical integrity, so I left the central column un-cut (it was simply going to show fuel and altitude levels, something I can imagine there just fine for now).


After cutting out the foam core, I wedged in the MFDs, and rested the unit on top of the display, and began tinkering with settings to layout the grids to get a feel for some ideal setups.


Once I was happy with the arrangement, I played with it some to dial in some things, set the colors to match my game’s hud, etc… and then the hard part began: 3D Modeling a final frame.

Now, while I am well versed in 3D printing as a solid hobby, my 3D modeling skills are virtually nonexistent. What little I know is rudimentary at best but it’s enough to get by for now. I expect to make future versions far better than this one, or more likely, to commission someone better than I, but for the time being my efforts will suffice.


I whipped up a design, one that has an exterior frame that sits around the screen to hold it firmly in place, left holes for the inputs, display areas, and divided it up into 4 pieces so it would fit on my print bed with janky designs to help force it back into a smooth shape again.
Once printed, I test fit everything for a quick sanity check and then bonded the parts together, put some heavy weights on them to keep the whole thing bonding flat and smooth, and let the epoxy cure. Once set, I re-fit everything, and fired her up!


I must say, this is going to be fun! I’ve already thought of about 3 or 4 things I want to change for a second printing… the biggest one being the fact that while I measured things well for my prototype, when making the plastic frame, I forgot to remember to do what I did on the foam core, and account for the “usable” space over the LCD screen’s bezels. Had I put the MFD frame over the bezels, I would have doubled up on screen real estate and gained back about 20% more usable space, instead however my MFD frames are over the exposed LCD, pushing the two of them closer to each other than they need to be, losing space in between. (Not to mention, the frames between windows are far wider than they need to be, due to how strong the plastic is vs the foam core, and the windows can be made wider as well.) No big deal, but definitely something I want to fix in v2. Additionally, I’d like to put a 45 degree chamfer on the viewing windows, to alleviate some of the lost viewing angles due to the depth between surface level and screen, and to also make proper dovetails to help the frame snap into place rigidly, rather than these unstable jagged cuts.
Still, all in all, I’m happy with my v1.0 and have already put a solid nights use into it!